There are various options you can set from the Options page, accessible from the top menu.
Logs
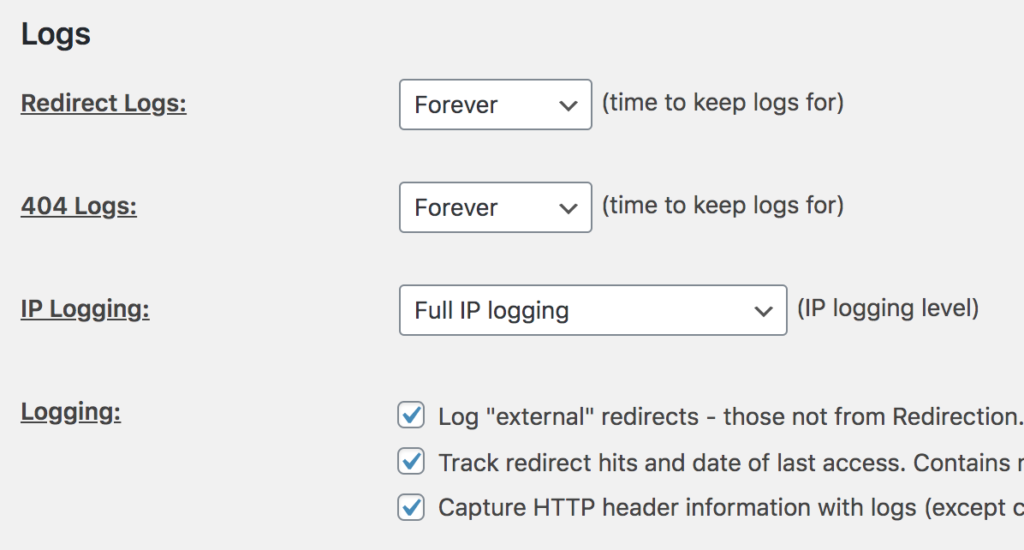
Log Expiry (redirect and 404)
Redirection will log every redirect and every 404 on your site unless you configure otherwise. You can set the amount of time to keep these logs to:
- Forever
- Two months
- A month
- A week
- A day
The logs can also be disabled by selecting No Logs.
Note that log expiry is performed using WordPress cron, and it is important that your site is set up to allow this.
IP Logging
You can customise the level of IP information that is collected by Redirection. By default it will collect the full IP address of every redirected URL and 404 error. This is the preferred mode and allows you to display further information about where your visitors are from.
If you live in a country that has strict laws detailing the collection of IP addresses then you may want to use the ‘Anonymize IP’ option, or even disable it entirely.
The options are:
- No IP logging
- Full IP logging
- Anonymized IP logging (the last part of the IP address is masked – 192.1.168.34 becomes 192.1.168.0)
Note that Redirection supports IPv4 and IPv6 addresses.
IP Address
Several features in Redirection require an IP address, and this is made available to PHP through a server header. The standard header is REMOTE_ADDR but your server may be configured differently, particularly if it is behind a proxy.
You can configure the IP header with the IP address option:

You should always use REMOTE_ADDR unless your server is configured otherwise. You can ask your hosting provider for the appropriate header value.
Should you need to change the header then you can select it from the dropdown:
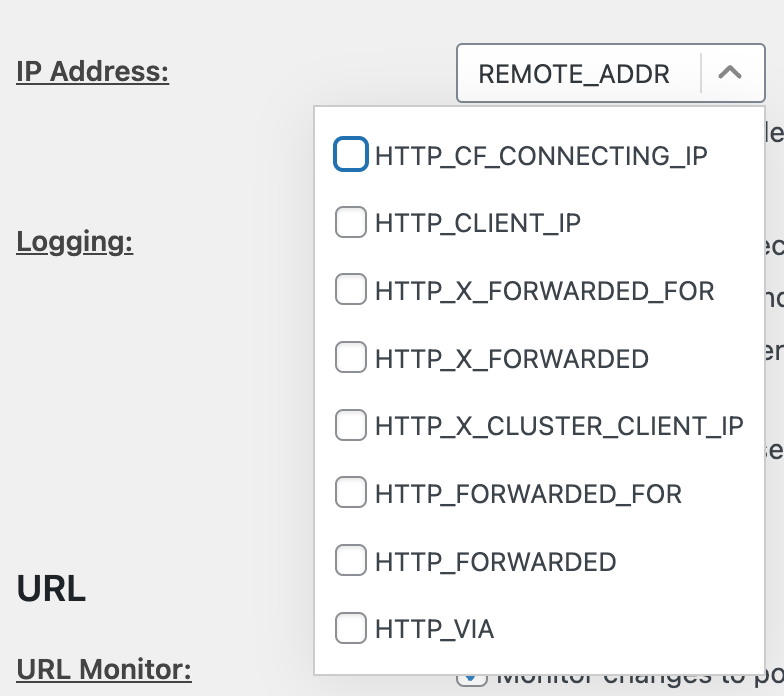
It should be noted that these header values can be overridden by the client, so it is important you only select the header(s) that your server uses and are known to be valid.
If you do pick a custom header then you can also specify the IP of any proxy servers you use. The custom header will only be trusted if the REMOTE_ADDR is one of the configure proxy server IP addresses.

Logging
Additional log options:
- Log external redirects – this logs redirects that performed by something else other than Redirection. For example, WordPress itself, or another plugin.
- Track redirect hits and access date – keep track of when and how many times a redirect has been used
- Capture HTTP header information – this could help when investigating various issues on your site. It greatly increases the amount of data stored in the log.
URL
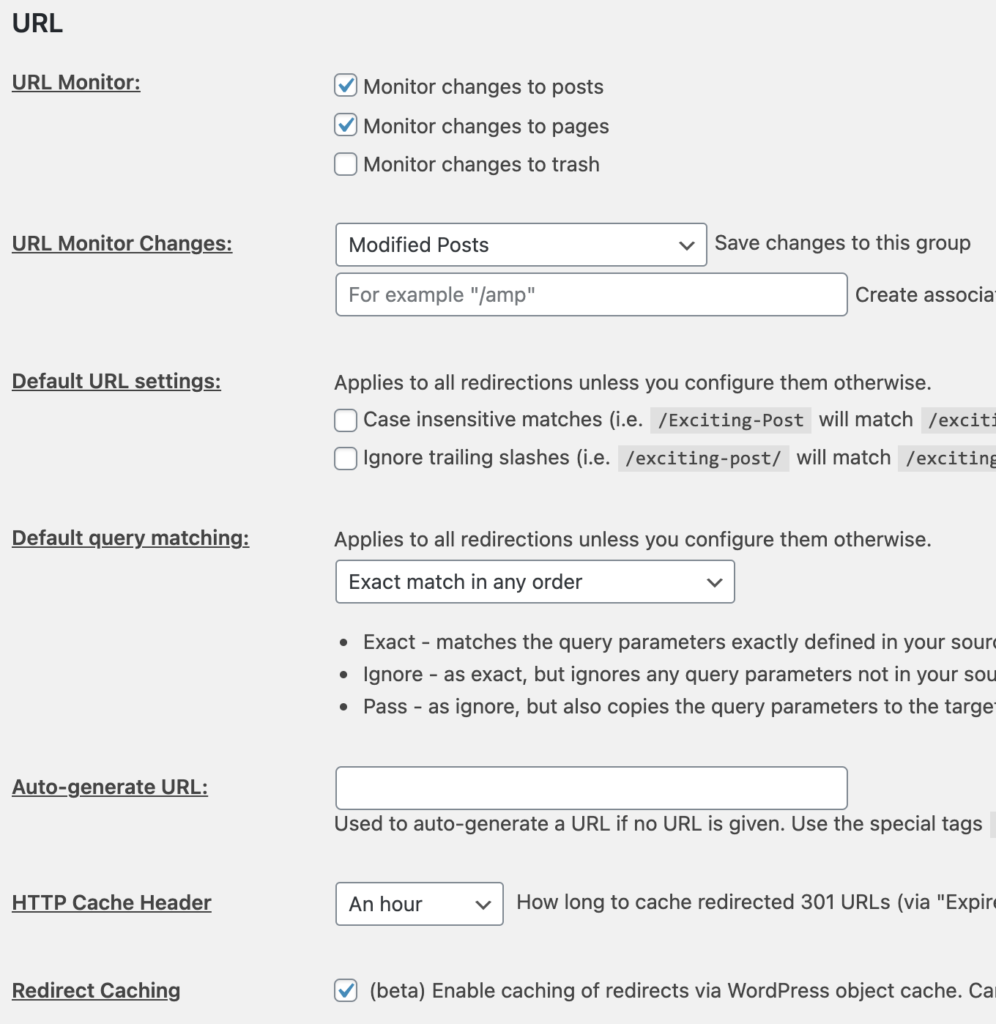
URL Monitoring
Redirection can monitor for URLs changes to posts, pages, and custom post types, and auto-create a redirect from the old post URL to the new post URL.
It can also be configured for deleted posts, although these will be auto created as disabled redirects and you will need to fill in the target URL and then enable.
Select what you want to monitor:
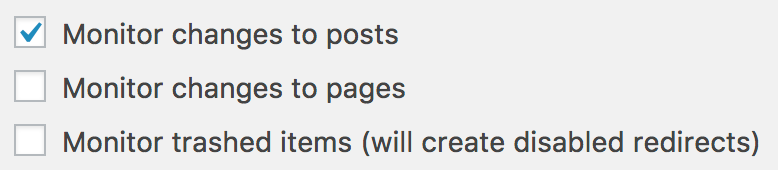
Note that any custom post types you have on your site will also appear in this list. For example, WooCommerce products.
And then select which Redirection group you want the redirects to appear in.

You can also set up an associated redirect, which will be created at the same time. This allows you, for example, to redirect AMP pages at the same time.

The way this works is that if your old post was /2017/12/01/old-post and this is redirected to /posts/old-post, then a second redirect will be created for /2017/12/01/old-post/amp/ to /posts/old-post/amp/.
Default URL settings
Sets the default URL settings:
- Case insensitive – if enabled then all URL matches will be case-insensitive
- Ignore trailing slashes – if enabled then trailing slashes are ignored on all URL matches
Note these settings can be changed on an individual redirect.
Default query matching
Sets the default query parameter settings:
- Exact – query parameters must match exactly
- Ignore – query parameters are ignored
- Pass – query parameters are ignored and passed to the target
Note these settings can be changed on an individual redirect.
HTTP Cache Header
By default a browser will cache a redirected URL such that it won’t request the URL again should the user re-request it.
The HTTP Cache Header option allows you to configure the expiry time of this cache.
If you often make changes to redirections then having a lower expiry time (or none at all) will mean your users will be redirected to the most recent target.
If you make few changes to redirections then a longer expiry time will mean your users make fewer requests to your server.
If you do change a redirection and find that your browser is still using the old redirect, then the expiry cache is to blame. You will need to clear your browser cache manually and think about using a smaller cache time.
Redirect Caching
Caching your redirects will store information for a particular URL in an object cache. The next time the URL is requested the cache will be used. This can be significantly faster, especially when regular expressions are used.
You will need an object caching system installed and correctly configured.
Auto-Generate URL
If you do not provide a target URL for a redirect then the auto-generate URL will be used to generate one for you. This can be used to create URLs with unique IDs for tracking purposes.
For example, if you set the auto-generate URL to /track/$hex$ then a redirect created with a blank target URL will be changed into something like /track/36efe729.
Other Options
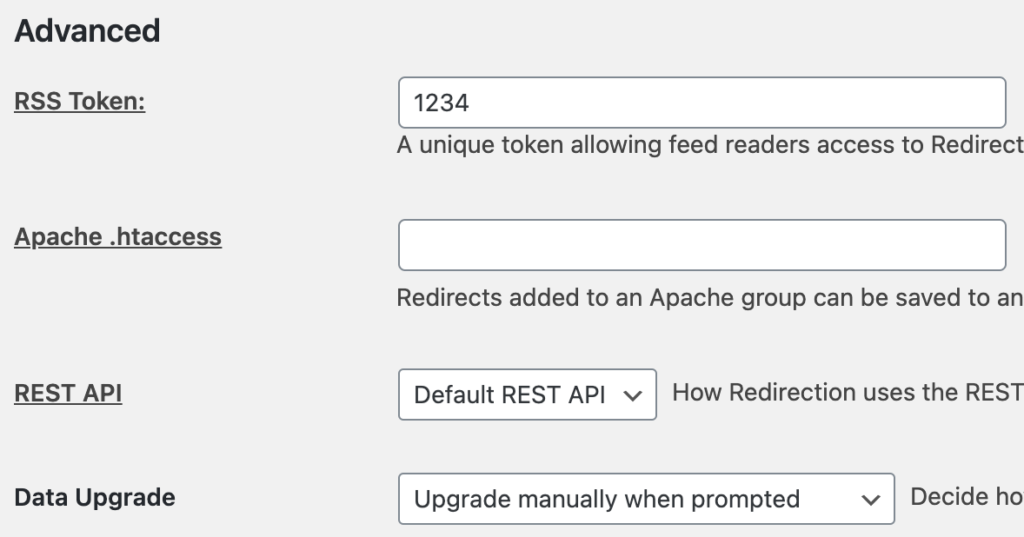
RSS Token
You can view your redirect logs using an RSS reader. The RSS Token is used to provide a unique key so that the RSS reader does not need a username/password to access your logs.
You can manually set this key, or you can delete it to auto-generate a new one.
Apache Module
If you make use of the Apache module (see the Groups page) this is where you configure the path of your .htaccess file. Please make sure the web server has write permissions to the file. Redirection will append to the file
REST API
Redirection uses the WordPress REST API to communicate with WordPress. For the majority of users this is shouldn’t cause any issue. However, some setups may experience problems caused by security plugins or other issues, and you may need to change how Redirection uses the REST API.
The options are:
– Default – use the default REST API, as defined by get_rest_url(). This is the standard API, and the preferred setting
– Raw – sometimes the default API may not work, and you can try using the API via /index.php?rest_route=/
If you change this setting and something breaks you can go to the Support page and Redirection will attempt to fix it.
If none of these settings fix the problem then you almost certainly are running security plugin that is blocking all requests. This will likely cause other problems, and you should try and reconfigure the plugin.
Data Upgrade
Sometimes a new version of Redirection may need to alter your redirect database. This is performed using an interactive tool that shows you what is happening and the progress of the upgrade. The tool is shown in the WordPress admin interface.
If you have a site that you do not often visit then you may want to automate this. Setting the data upgrade option to automatic will mean that any visit to the admin interface will perform the upgrade automatically.
If a problem is detected then the setting will change to manual.
You can also upgrade a database using WP CLI.
Delete Redirection
Clicking the red Delete button will remove all data associated with Redirection and disable the plugin.
You should do this if you want to clear everything and start again. This may be necessary if you are having problems.
Note this this button will not appear when you install Redirection globally on a multi-site, and are viewing the plugin through a subsite.