The redirect management page is where you’ll do most of the work in Redirection. It consists of a table with all your redirects and a section to add new ones. To access this page select the Redirects option in the top menu bar.
Adding A Redirect
Use the ‘add new redirection’ form to create a new redirect.

In its most basic form you need to enter a source URL (the URL you are redirecting from) and a target URL (the URL you are redirecting to).
The source URL is generally relative to your site. This means, for example, if the URL you want to redirect from is https://myexample.com/old-url, and Redirection is installed on https://myexample.com then the source is /old-url – it is relative to your domain.
The target can be any URL, relative or otherwise.
Some things to note:
- The source URL cannot contain a hash
#. This is not sent to the server and it is not possible to match against it. This is a general web limitation and not one imposed by Redirection.
Editing a Redirect
Once you’ve created a redirect it will be added to your list. When you hover over the newly created redirect you will see links appear beneath it:
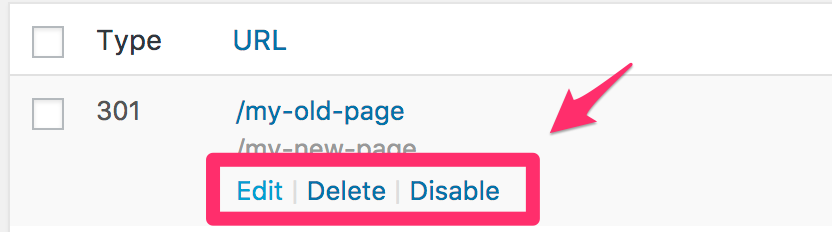
Press the edit link to edit the redirect in exactly the same way you added it.
Enabling, Disabling, and Deleting
Deleting a redirect removes it from Redirection and it will no longer be active.
A disabled redirect means the redirect still exists in Redirection, but it’s not active. Use this to temporarily disable the redirect without deleting it.
Enabling a redirect re-activates a disabled redirect.
Advanced Redirects
Advanced options are available by clicking the cog icon at the bottom of the redirect edit form.
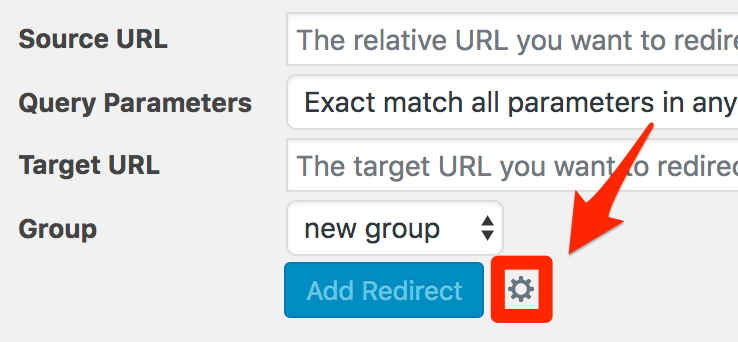
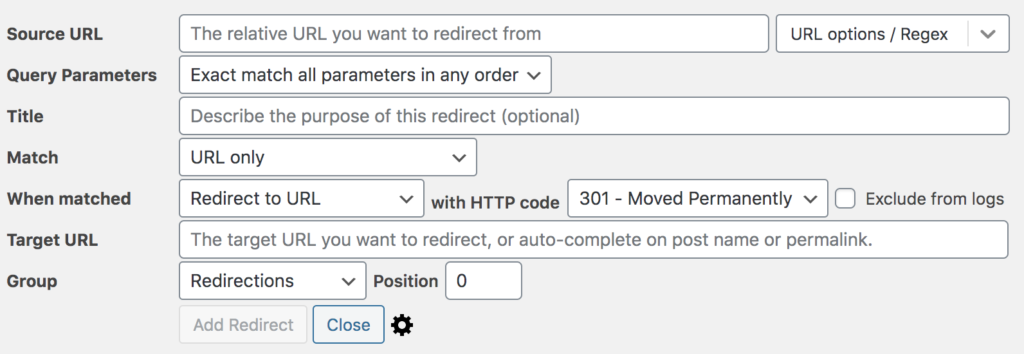
Clicking this expands the form to show the full range of options:
Think of this as a flow:
- Start with the source URL and query parameters. This defines what URL to match
- Add extra match details, to add additional requirements to the source URL (for example, when the user is logged in)
- Add a when matched action, that determines what happens when the URL is matched
- Add details to the action, such as target URL and HTTP code
Full details of this can be found here:
- Title – enter a text description about the redirect. This will be used instead of the URL in the redirect table, and is designed to help you understand the purpose of the redirect
- URL options – explained further on the URL matching page
- Query Parameters – explained further on the URL matching page
- Match – explained further on the Redirect Matches page
- When matched – explained further on the Redirect Action page
- Exclude from logs – do not log this redirect
- Group – explained further on the Groups page
- Position – controls the order in which redirects are processed. A lower number has a higher priority
Searching & Filtering
If you have a lot of redirects you may find it useful to use the filter and search facility to find a particular redirect.
Filters allow you to reduce the visible redirects based on the conditions you set.
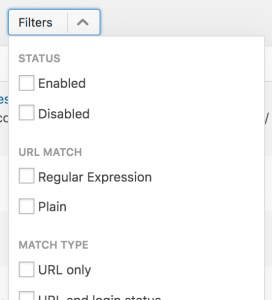
Multiple filters can be enabled.
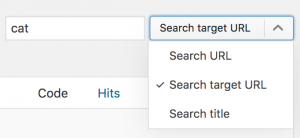
Searches are like filters, but you can enter the text you want to search for. You can also change the search dropdown to determine what is searched.
Note that if you have a filter enabled and then use the bulk actions it is possible to affect only those items in the filter. This is a useful way to perform an action against a subset of your data.
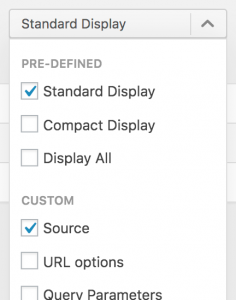
Customising the display
You can change what information is displayed by using the display dropdown. Pick from the pre-defined list, or use a custom display.