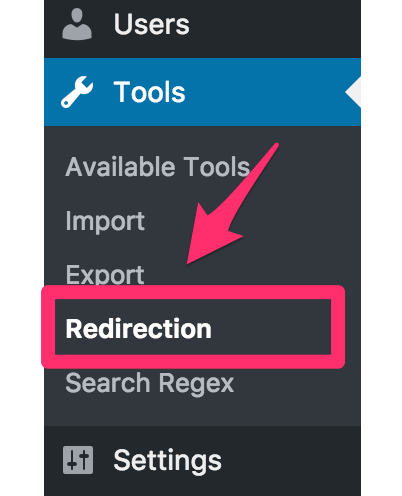
Once you’ve got the plugin installed you’ll find a new menu option in the WordPress admin menu under Tools > Redirection.
Selecting this will open Redirection’s admin interface and will initially show your redirects. At the top of the page is a submenu where you can navigate to different parts of Redirection. This is known as the top menu.

Navigating Tables
Most pages will consist of a table with some standard features.
First is the search box. Enter a search term here to restrict what is shown in the table:

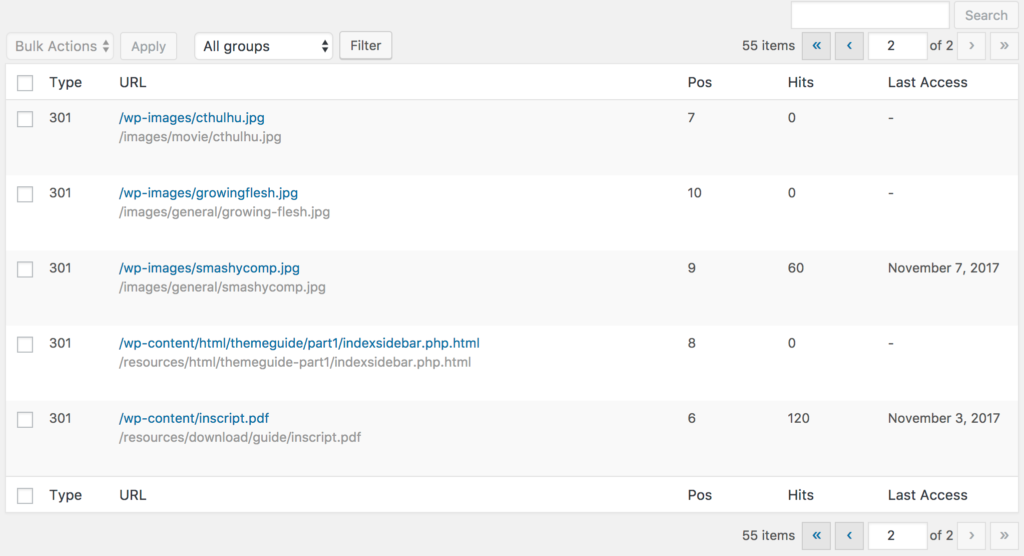
If you have more items than can fit on the page then you’ll see some pagination options:

Click the arrows to move forward and backward, or enter a page number to go directly there.
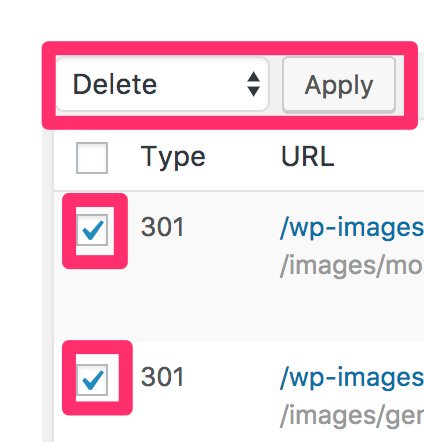
The bulk menu lets you perform an action across multiple items. First select items using the checkboxes (or press the first checkbox to select everything), then pick the bulk action, and hit ‘Apply’.
If you click the first checkbox then all items on the page will be selected. A new option appears next to the pagination information that allows you to select all items in your database:

Clicking the ‘select all’ will select all matching items (everything, or as per your filter) and then perform a bulk action.
Some pages may also feature a filter dropdown where you can restrict the visible items to, for example, a certain group:

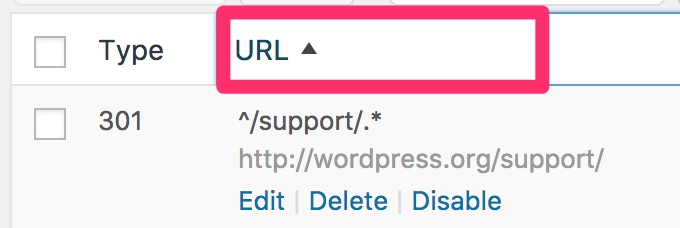
The headings of some table rows are clickable, and clicking these will sort the results by that column. Clicking it again will reverse the order.
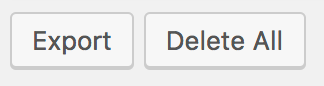
Finally, some pages have buttons at the bottom of the table that perform further actions: